Show summary Hide summary
This velvety spread has become a go-to in kitchens worldwide, prized for its flavor, nutrition, and ease of preparation. With more people cooking at home and choosing plant-forward meals, mastering a reliably smooth batch of hummus matters more than ever.
Long before it turned up in deli counters, this blend of legumes, sesame paste, and lemon was a regional staple across the Eastern Mediterranean. Today it functions as a dip, a sandwich spread, a salad topper and a quick source of satiety—simple to make but surprisingly sensitive to technique.
What creates that ultra-silky texture?
Texture comes down to three elements: the ingredients, the treatment of the beans and the blending method. Use well-cooked, tender chickpeas, a good-quality tahini, and a high-speed processor. Little adjustments—like peeling skins, adding ice water or cooking a portion of the beans until they begin to fall apart—can transform grainy hummus into a luxuriously smooth purée.
Original Pantry Cafe reopens in downtown LA: iconic diner resumes all-day service
Canned chickpeas can rescue weeknight meals: 15 fast recipes
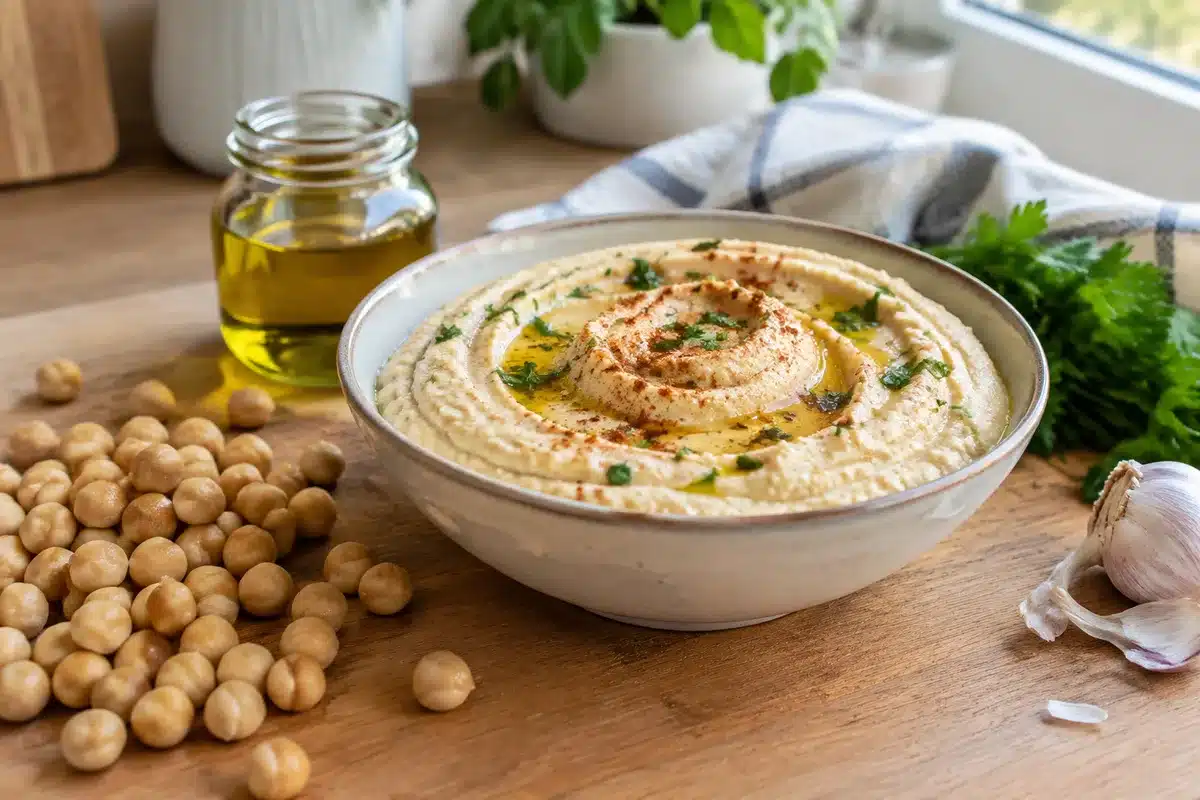
Notes from the bench: removing skins takes time but pays off in mouthfeel; reserving some of the bean-cooking liquid or the canned liquid (aquafaba) lets you loosen the mix without diluting flavor; finishing with a slow drizzle of olive oil gives body and shine.
Quick formula for reliably smooth hummus
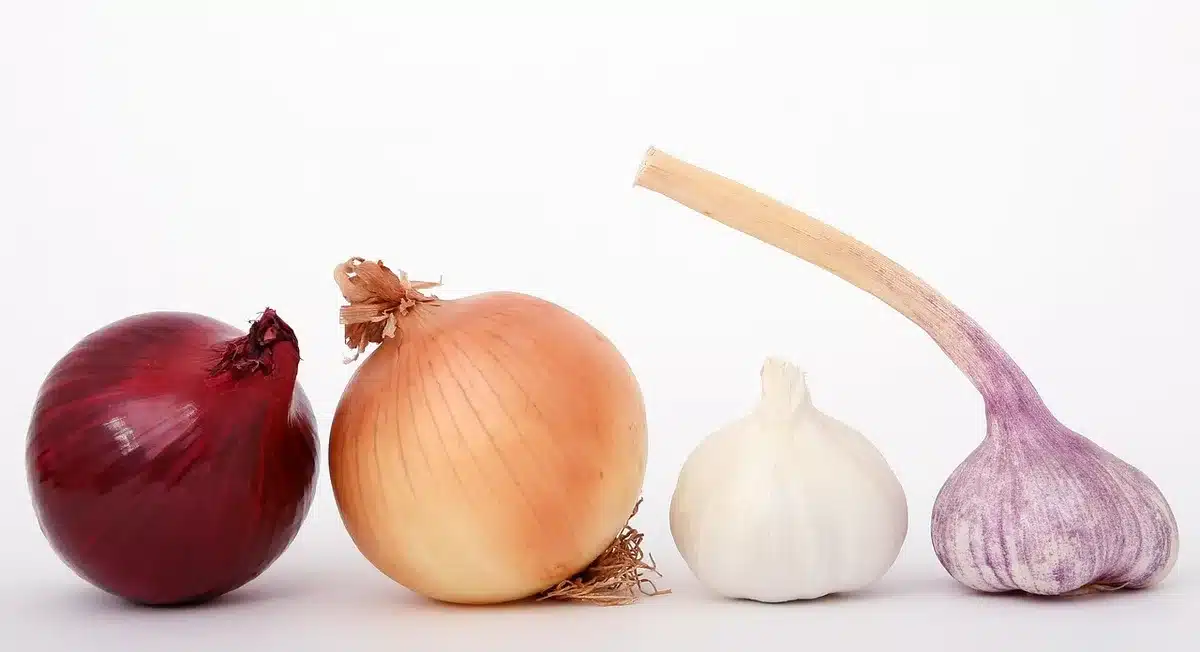
- Ingredients (approx.): 1 can (or 1.5 cups cooked) chickpeas, 3 tbsp tahini, 2–3 tbsp lemon juice, 1–2 cloves garlic, 2–4 tbsp ice water or aquafaba, 1/2 tsp salt, 2 tbsp olive oil.
- Method in three steps:
- Process tahini, lemon and garlic first until creamy. This primes the paste for emulsification.
- Add chickpeas and pulse, then stream in water or aquafaba until smooth. Scrape the bowl often.
- Adjust salt and lemon, and finish with olive oil for richness.
- Pro tips: For the silkiest result, peel a portion of the chickpeas or include a small handful of freshly cooked beans that have been simmered longer than the rest.
Not every kitchen needs a food mill or expensive kit—patience and small technique tweaks matter more than gear. That said, a strong processor shortens the time and yields a finer emulsion.
Ways to serve and keep it fresh
Hummus is versatile: scoop it with warm pita, dollop it on roasted vegetables, thin it into a salad dressing or layer it in a grain bowl. Simple garnishes—smoked paprika, toasted pine nuts, chopped parsley or a splash of good olive oil—elevate an otherwise plain tub.
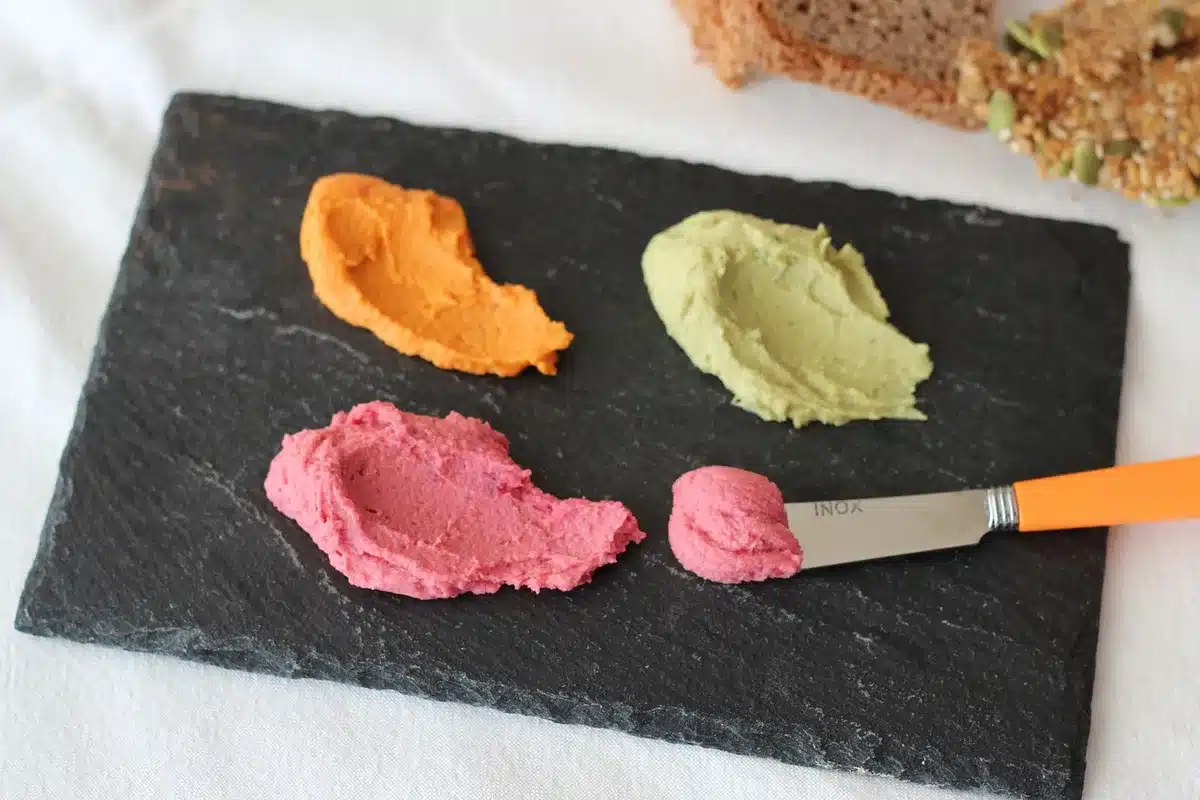
Stored in an airtight container, homemade hummus lasts about 4–5 days in the refrigerator; a thin film of olive oil on top helps preserve moisture and color. Hummus freezes acceptably for up to three months, though texture can soften on thawing—stir vigorously and add a splash of water to re-emulsify.
Practical stakes: why this matters today
With more households balancing time, cost and nutrition, hummus ticks multiple boxes: plant-based protein, long pantry life (dried chickpeas or canned), and quick prep. Learning a few reliable techniques turns a store-bought convenience into a customizable, economical staple that adapts to seasonal produce and diverse cuisines.
For readers short on time, a small investment—peeling a handful of beans, or using ice water—can yield a markedly better result that encourages repeated home cooking. That ripple effect matters: better homemade basics often lead to healthier weeknight choices and less reliance on processed options.
Try one of these small changes on your next batch and compare: a silkier hummus is just a few steps away.
National Taco Day: how tacos became America’s go-to fast food
Sushi salon draws diners with must-try fish creations