Show summary Hide summary
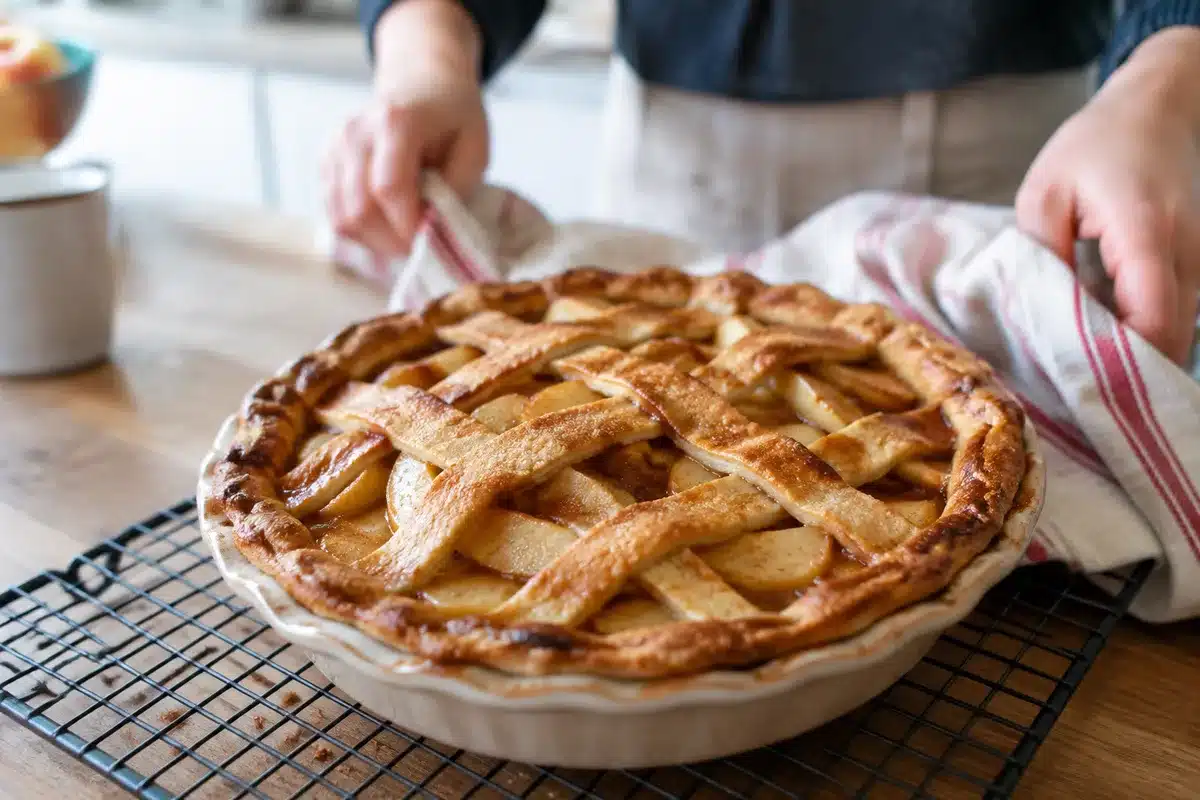
You can get a crisp, deeply flavored apple pie without stewing the fruit on the stovetop first. With the right apple selection, a reliable thickener and a few simple baking adjustments, raw slices will cook through evenly and yield a saucy, well-set filling—perfect for last-minute fall baking or holiday crowds.
Why you might skip precooking
Skipping the stovetop step saves time and preserves the bright, fresh apple flavor that long-simmered fillings sometimes lose. It also reduces one more dirty pan and keeps the fruit from turning to mush before it reaches the oven.
San Francisco restaurants: new openings to try in November 2026
Beef braises surge as weekend comfort: 10 hearty, saucy recipes to try
That said, baking raw apples successfully requires planning: you must control the moisture they release, encourage even cooking, and choose a thickening agent that sets reliably as the pie cools.
Key techniques to make raw apples work
Small changes matter more than elaborate tricks. Focus on three areas: how you slice the apples, how you bind the juices, and how you bake the assembled pie.
- Slice thickness: Aim for 1/8″–3/16″ (3–5 mm). Even, thin slices soften in the oven but still hold shape.
- Uniform pieces: Cut apples consistently so some pieces don’t overcook while others stay raw.
- Choose a starch: Instant tapioca, cornstarch, or a blend with flour all work differently—tapioca gives clear, glossy filling, cornstarch thickens quickly, flour is forgiving but can cloud the juices.
- Salt and acid: A pinch of salt and a squeeze of lemon brighten the filling and balance sweetness.
- Vent the top: Lattice or slits let steam escape and concentrate the filling instead of pooling under the crust.
Quick checklist before baking
- Apples sliced to consistent thickness
- Dry ingredients (sugar, spices, starch) evenly mixed with fruit
- Bottom crust chilled and ready
- Top crust or lattice with vents
- Oven fully preheated
Which apples to use
Not all apples behave the same in a no-precook pie. A mix of firm, tart apples and sweeter, softer ones gives both texture and flavor depth.
| Apple | Profile | Use in no‑precook pie |
|---|---|---|
| Granny Smith | Very tart, firm | Excellent—holds shape, balances sweetness |
| Honeycrisp | Crisp, sweet-tart | Great for texture and bright flavor |
| Braeburn / Jonagold | Balanced sweetness, firm | Reliable choice for both structure and taste |
| Golden Delicious | Milder, softer | Good blended with firmer apples |
Baking timeline and temperatures
Start with a hot oven to encourage the crust to set quickly, then lower the temperature to cook the filling gently.
Typical approach:
- Preheat to 425°F (220°C) and bake 15–20 minutes to brown the crust.
- Reduce to 375°F (190°C) and continue baking 35–45 minutes until juices bubble through vents.
What to look for: active bubbling around the crust edge and a golden top. The bubbling shows the thickener has activated and juices are hot enough to later set as the pie cools.
Finishing and serving
Resist the urge to cut into the pie immediately. Let it rest on a wire rack for at least 90 minutes, longer if possible. During that time the filling will cool and thicken—cutting too soon produces a runny slice.
Reheat gently if serving later: 325°F (160°C) for 10–15 minutes restores crispness to the crust without overcooking the fruit.
Small variations worth trying
For a glossier filling, use fine instant tapioca. If you prefer a softer, saucier result, a higher sugar content and a shorter initial high-heat period will increase syrupiness. A splash of apple brandy or a teaspoon of vanilla added after mixing can deepen aroma without masking fresh apple notes.
Making an apple pie without pre-cooking the fruit removes a step but not the need for attention to detail. With proper slicing, the right thickener and careful baking, you’ll get a pie that looks classic, tastes bright and keeps its structure—right out of the oven.
Domino’s launches watermelon pizza test: TikTok creator challenges the viral recipe
Most popular beer in US: 101-year-old Mexican lager tops sales nationwide